Programmatically create new customers in Magento

How to programmatically create new customers in Magento
Creating new customers programmatically can be quite challenging when you are new to magento. If you search for "create magento customers" you will stumble upon a lot different extensions. Most Guides will teach you how to import customers via csv files. But as a developer i prefer a more pragmatic solution which can easily be customized for you own needs. One very good extension for importing customers or data in general is this one. This extension has a very small footprint, but it does the job easily by defining a wrapper for the native Magento-Import. I found it very useful for more advanced users even the main audience are beginner in programming.
In my opinion libraries are only useful if you understand what is going on under the hood. So lets get your hands dirty by writing some very simple code, which everyone will understand.
Define your customers
You might have another datasource like i have and every project is different, so i will just define a plain and simple php array like that one.
$_customer = array (
    'firstname'     => 'Max',
    'lastname'      => 'Mustermann',
    'email'         => '[email protected]',
    'password'      => '123abc!',
    'password_hash' => 'b7a9552802ce455e170a1c73a47796e4:6c',
    'add_date'      => '2010-01-21 13:37:00',
    'birth_date'    => '1980-01-01',
    'gender'        => 1, // Male (1) or Female (2)

    // billing address
    'street'        => 'Nymphenburgerstraße',
    'street_number' => '86',
    'address_info'  => '1. Floor',
    'city'          => 'Munich',
    'company'       => 'Mothership GmbH',
    'postcode'      => '80636',
    'country_id'    => 'DE',
    'telephone'     => '+49 (0) 160 938 29 815',
    'fax'           => ''
);
Start your import
Lets just test the import by writing some code. You will see, that i have not added the address data, as the customer address needs to be linked to the customer model seperately. You will see that later.
$customer = \Mage::getModel('customer/customer');
$customer->setWebsiteId($websiteId)
    ->setStore($store)
    ->setFirstname(   $_customer['firstname'])
    ->setLastname(    $_customer['lastname'])
    ->setEmail(       $_customer['email'])
    ->setPasswordHash($_customer['password'])
    ->setCreatedAt(   $_customer['add_date'])
    ->setDob(         $_customer['birth_date'])
    ->setGender(      $_customer['gender']);
$customer->save();
You can run this code everywhere within the Magento-Environment. Write a simple shell script or use the powerful Magerun-Module. If you need some assistant, just leave me a comment and i will try to help you.
What about the address?
As stated before, the customer address must be linked to the customer model as it is an 1:n relation. So a customer could have multiple addresses by architecture design. Without larger hacks you can have one "Default Billing Address" and one "Default Shipping Address". So how do you do that? Look at the following piece of code:
   // set billing address
    $_custom_address = array (
        'firstname'  => $_customer['firstname'],
        'lastname'   => $_customer['lastname'],
        'street'     => array (
            '0' => $_customer['street'] . ' ' . $_customer['street_number'],
            '1' => $_customer['address_info']
        ),
        'city'       => $_customer['city'],
        'company'    => $_customer['company'],
        'postcode'   => $_customer['zip'],
        'country_id' => $_customer['country_id'],
        'telephone'  => $_customer['telephone'],
        'fax'        => $_customer['fax'],

    );
    $customAddress   = \Mage::getModel('customer/address');
    $customAddress->setData($_custom_address)
        ->setCustomerId($customer->getId()) // this is the most important part
        ->setIsDefaultBilling('1')  // set as default for billing
        ->setIsDefaultShipping('1') // set as default for shipping
        ->setSaveInAddressBook('1');
    $customAddress->save();
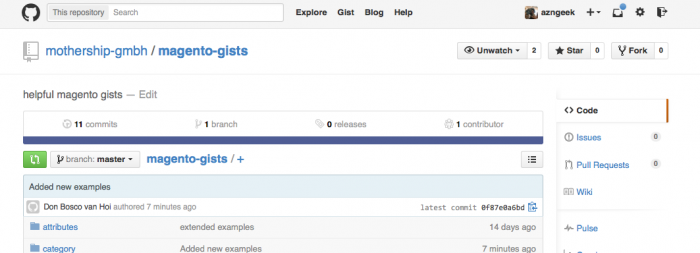
So as you can see, this is pretty straigh forwarded. Please check the code at our own GitHub-repository and feel free to leave us a comment.
Weitere Blog-Artikel

Recap zur Shopware Unconference 2024
Andreas, Don Bosco und Niklas teilen ihre Erfahrungen von der Shopware Unconference 2024 in Köln.

Unser Co-Founder Don Bosco van Hoi im Interview
Unser Co-Geschäftsführer Bosco steht und Rede und Antwort rund um Mothership, Shopware und E-Commerce.

Warum Shopware die beste Wahl für mittelständische Unternehmen ist
Mittelständische Unternehmen stehen oft vor der Herausforderung die richtige E-Commerce Plattform zu finden. Wir finden dass Shopware für KMUs die beste Lösung darstellt.